A Practical Guide on How to Paint My Room Like a Professional
Learn how to paint my room properly with this practical, step-by-step guide covering wall preparation, paint selection, and application techniques for Nigerian homes.
Preparing finishes & 3D renders...
Learn how to paint my room properly with this practical, step-by-step guide covering wall preparation, paint selection, and application techniques for Nigerian homes.

Learn how to paint my room properly with this practical, step-by-step guide covering wall preparation, paint selection, and application techniques for Nigerian homes.
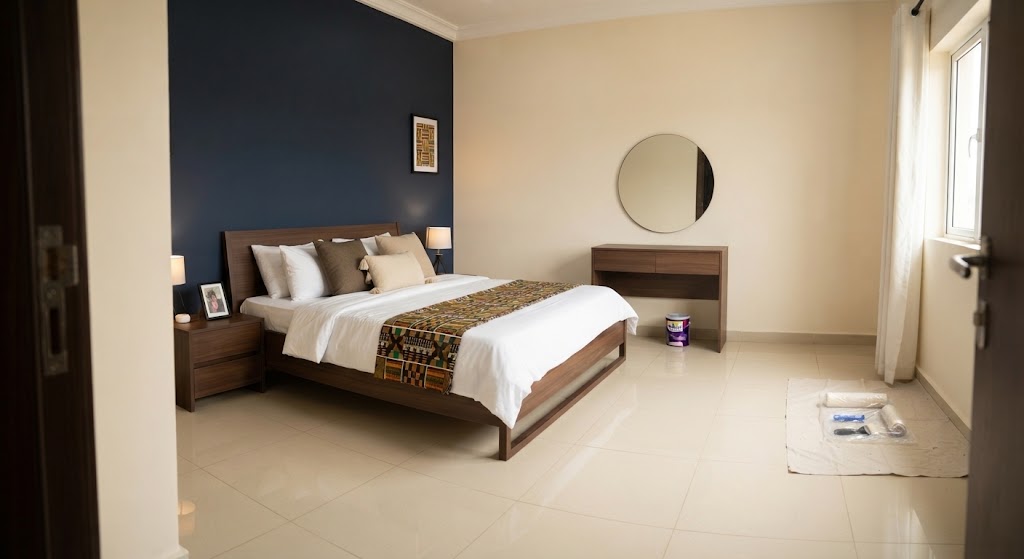
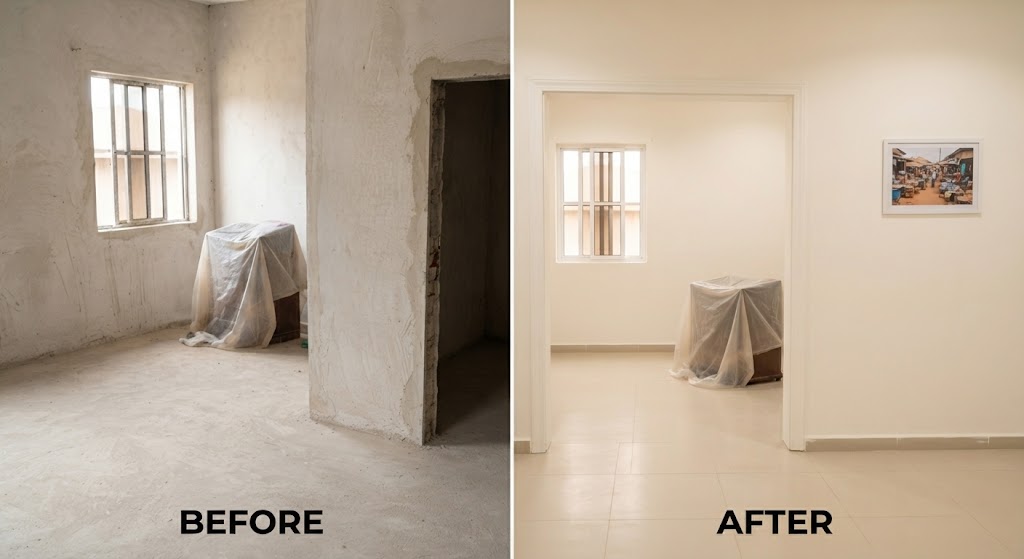
If you've ever looked at your room and thought, “How can I paint my room myself and still make it look like a professional did it?”, the good news is that you can get a very good result if you don't rush the job.
Painting is not just about dipping a roller into a bucket and moving it up and down the wall. The condition of the wall, the paint you choose, the tools you use and the way you apply each coat all affect the final result.
This is especially true in Nigerian homes. Depending on where you live, you may be dealing with dusty harmattan weather, humidity, heavy rain, damp walls or walls that have been painted several times already.
So, before you start asking how to paint my room, start with the wall itself.
Step 1: Check the Wall Before You Start
Don't start painting immediately.
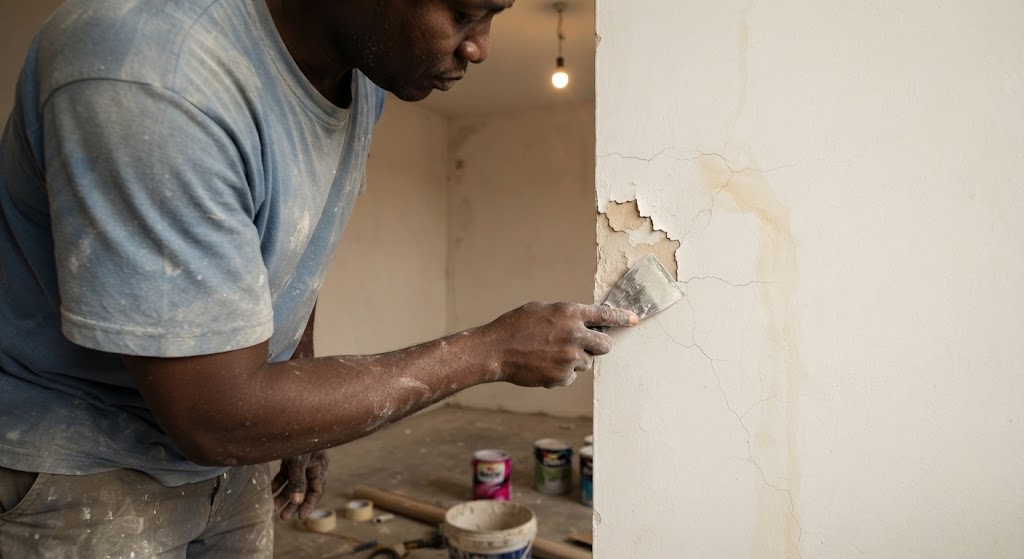
Walk around the room and look closely at the walls. Check for peeling paint, cracks, damp patches, mould, holes, stains and areas where the old paint is already coming off.
If the wall is damp, find out why before painting. It could be a leaking pipe, water entering through the outside wall, a roof or gutter problem, or moisture coming up from another part of the building.
Painting over dampness may hide the problem temporarily, but it won't solve it.
For loose or peeling paint, use a scraper or putty knife to remove anything that is no longer firmly attached to the wall.
Step 2: Repair Cracks, Holes and Rough Areas
Once the loose material has been removed, look for holes and uneven areas.
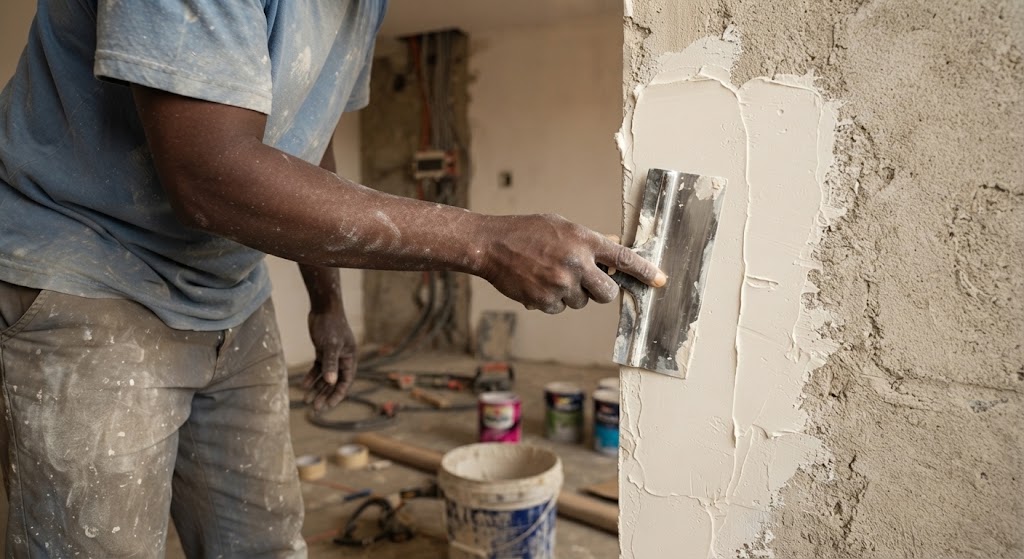
Small holes and minor imperfections can be filled with a suitable wall filler or putty. If the wall is very rough or you're working on a newly plastered wall, you may need proper wall screeding before painting.
This is one of the stages people often skip because they are eager to see the new colour on the wall.
Don't skip it.
A good paint cannot turn a badly prepared wall into a perfectly smooth wall.
If you want that clean, fine finish you see in professionally completed Nigerian homes, spend time getting the surface right first.
Step 3: Sand the walls
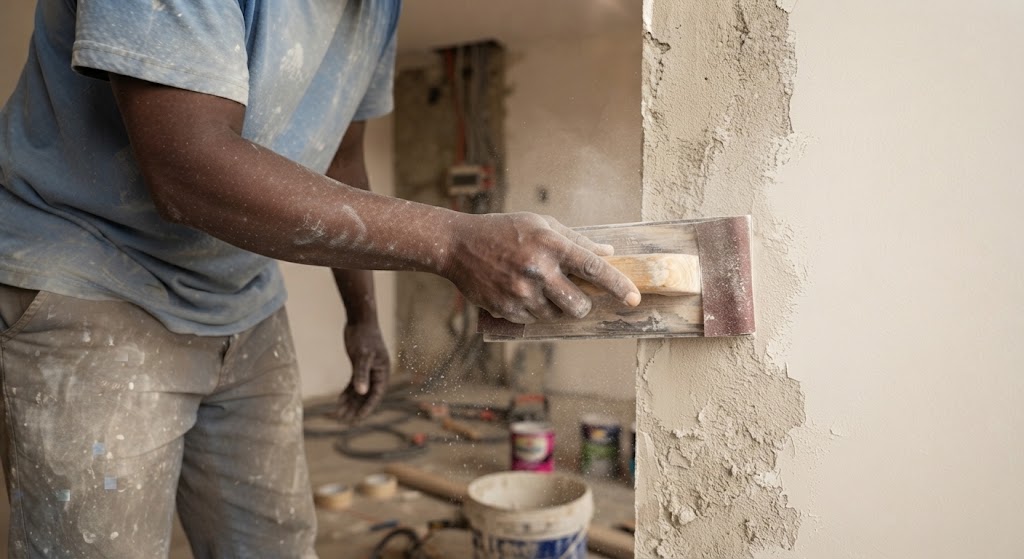
After the filler or screeding has dried properly, sand the surface.
Use suitable sandpaper to smooth down raised areas and remove rough edges around repaired sections.
Run your hand gently over the wall as you work. You can often feel small bumps and rough patches that are difficult to see from a distance.
Once you're satisfied with the surface, remove all the sanding dust.
This is particularly important in Nigeria because sanding can leave a fine layer of dust all over the room. If you paint directly over that dust, the paint may not bond properly and the finished wall can look rough.
Step 4: Clean and Prepare the Room
Before opening the paint, prepare the room.
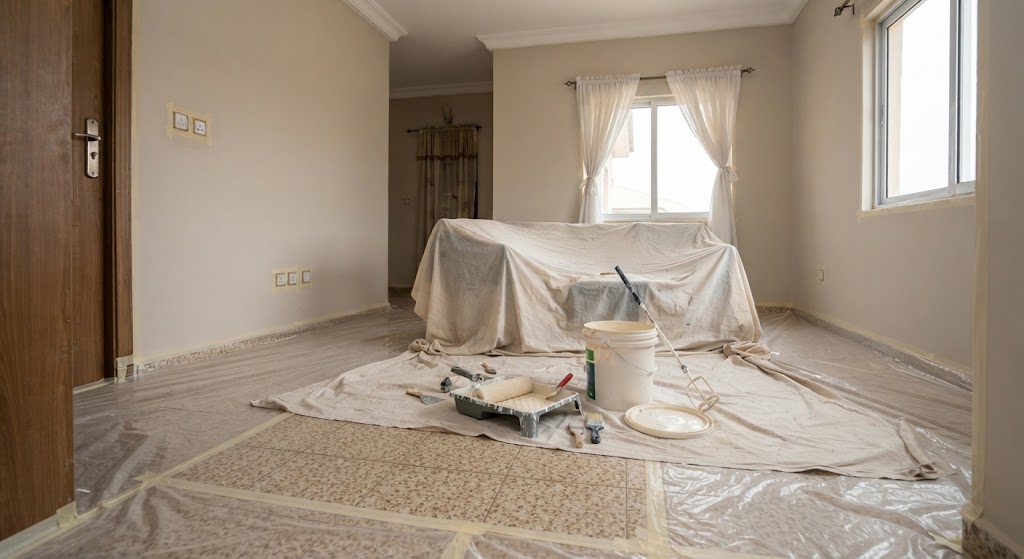
Move furniture away from the walls and cover anything that cannot be removed. Protect your floor with a plastic sheet, old cartons or suitable floor covering.
Use masking tape around areas such as:
Also remove cobwebs and dust from the walls.
If you're painting a room that is already furnished, take your time with this stage. Cleaning up dried paint from tiles or furniture later is much more stressful than protecting them properly at the beginning.
Step 5: Choose the Right Paint
Now you can think about the actual paint.
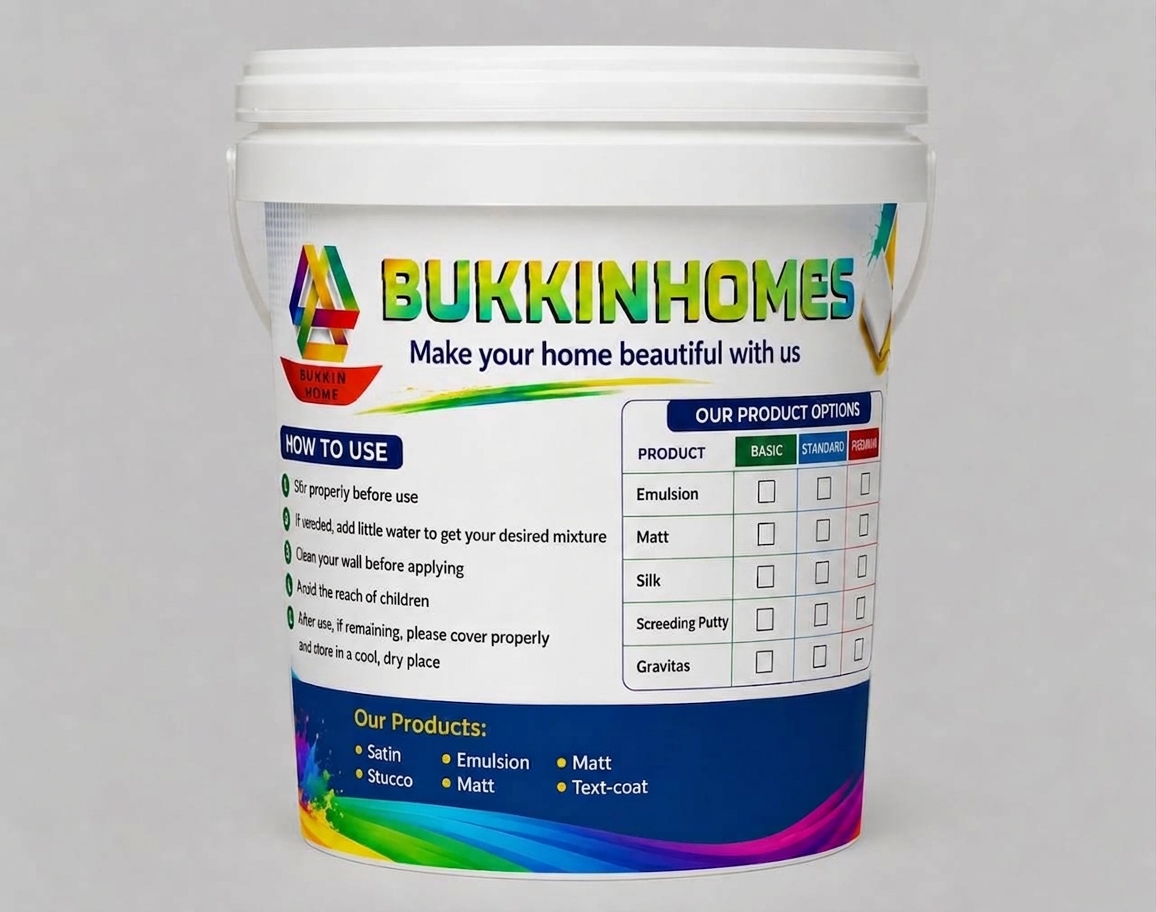
There are different types of interior finishes available in Nigeria, including emulsion, matt, silk and other washable finishes you can buy quality paint from Bukkinhomes Paints https://bukkinhomes.com.ng or choose from any painting brand you trust.
The right choice depends on the room.
For a bedroom, you may prefer a simple matt finish. For a living room, passage or children's room where the walls may need regular cleaning, a washable finish such as silk can be more practical.
And if you're trying to make a small room feel brighter, lighter colours can help reflect more light.
Colours such as warm white, cream, soft grey and light neutral shades can make a room feel more open without making it look empty.
Step 6: Get Your Painting Tools Ready
You don't need a truckload of equipment to paint one room, but using the right tools makes the job much easier.
For a normal room, you may need:
If you're painting a high wall or ceiling, don't improvise with unstable chairs or piles of blocks. Use equipment that allows you to work safely.
Step 7: Prime the Wall Where Necessary
If you've exposed bare plaster or concrete while repairing the wall, those areas may need primer before the finishing paint.
Primer can help seal porous surfaces and provide a more suitable base for the topcoat.
If you're repainting an old wall and the existing coating is sound, clean and compatible with the new paint, a full primer coat may not always be necessary.
However, newly prepared surfaces should be treated according to the requirements of the paint system you're using.
Always check the instructions for the particular product.
Step 8: Start With the Edges
This is where the actual painting starts.
Use your brush to paint around corners, door frames, windows, sockets and other areas where a roller cannot easily reach.
This process is commonly called cutting in.
Don't put too much paint on the brush. A controlled amount will give you cleaner edges and reduce dripping.
Take your time around corners. Rushing this part is one of the easiest ways to end up with paint on places where it shouldn't be.
Step 9: Roll the Main Wall
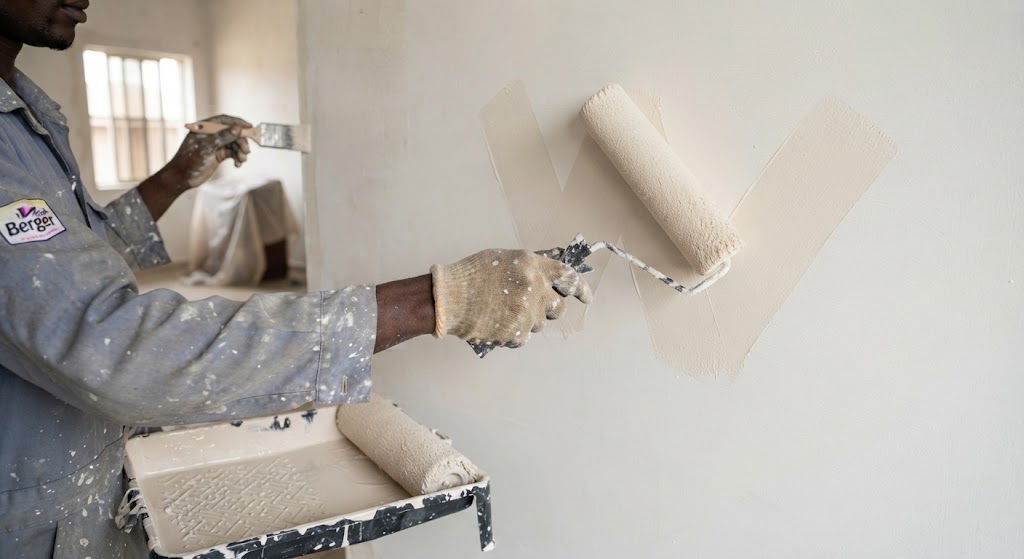
Pour the paint into your roller tray and load the roller evenly.
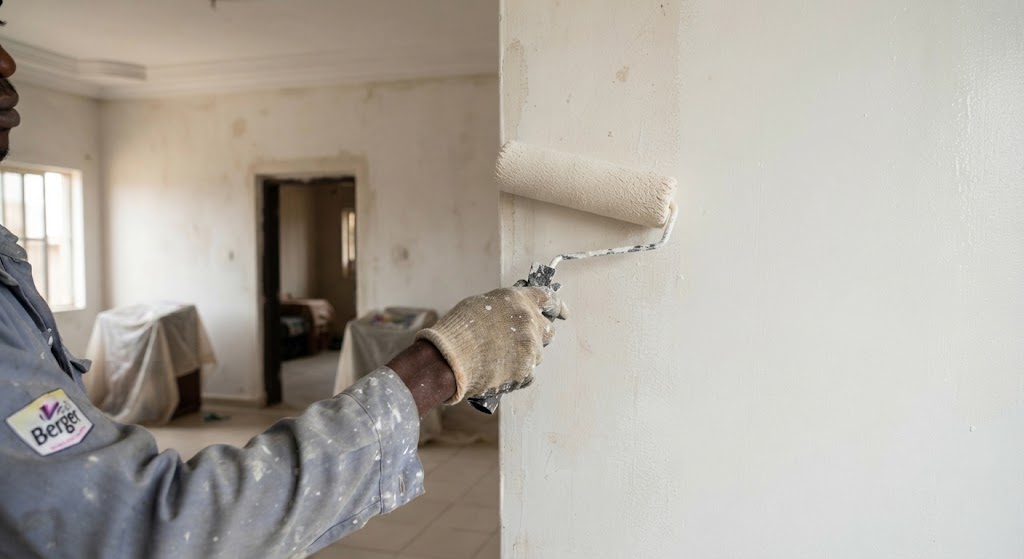
Don't completely soak the roller. Too much paint can cause dripping and make the wall harder to control.
Start applying the paint to the wall using overlapping strokes. You can work in a W or M pattern and then fill the spaces while the paint is still workable.
Try to maintain a consistent pressure.
Don't keep going back over an area that has already started drying, because this can leave visible roller marks.
For a large wall, work in manageable sections and keep a wet edge where possible.
Step 10: Allow the First Coat to Dry
Once the first coat is complete, don't immediately start the second one.
Give it enough time to dry according to the paint manufacturer's instructions.
Drying time can vary depending on the product, ventilation, humidity, temperature and the condition of the wall.
This is particularly important during humid weather. What feels dry on the surface may not necessarily mean the coating has fully cured.
Step 11: Apply the Second Coat
After the first coat has dried properly, inspect the wall.
You may notice areas where the old colour is still showing or where the surface coverage isn't completely even.
Apply the second coat in the same controlled manner.
Two coats are common for many interior painting jobs, but the actual number depends on the product, colour, surface and coverage.
Strong colours, major colour changes and highly absorbent walls may require additional coats.
Step 12: Remove the Masking Tape and Check Your Work
Don't wait until everything has completely hardened before removing masking tape.
Carefully remove it according to the paint system and check your edges.
Look at the walls from different angles and under the room's normal lighting.
Check for:
If you find a problem, fix it before putting all your furniture back. Your should always be different after painting
This is one of the most common questions people ask.
There isn't one amount that works for every bedroom.
The quantity depends on the size of the walls, the number of coats, the condition of the surface, the colour you're covering and the manufacturer's coverage rate.
For example, a freshly screeded wall may behave very differently from an old, dusty or highly absorbent wall.
The better approach is to calculate the actual wall area and compare it with the coverage stated on the paint container.
If you're painting a complete house, using a proper paint calculator can make the estimate much easier and help you avoid buying too much or discovering halfway through the project that you need another bucket.
Can I Paint My Room Without Hiring a Painter?
Yes, especially if it is a small room and the walls are already in reasonable condition.
The part that usually takes the most time isn't rolling the paint. It is the preparation—scraping, filling, sanding, cleaning, masking and waiting for materials to dry.
If you have patience and the right tools, you can achieve a good result.
However, if the walls have serious dampness, major cracks, extensive screeding requirements or you're working on a large house, it may be better to bring in an experienced painter or wall-finishing professional.
How Can I Make My Room Look More Professional?
The biggest difference is usually not an expensive paint colour.
It is preparation and neatness.
Make the wall smooth before painting. Use the right primer where needed. Don't overload the roller. Give each coat enough time to dry. Keep your edges clean and don't rush the final coat.
These small things are what make the difference between a wall that has simply been painted and a wall that looks properly finished.
Frequently Asked Questions
How many litres of paint do I need for a standard bedroom?
It depends on the actual wall area and the coverage of the paint you're using. Measure the walls, subtract major openings such as doors and windows, and then calculate the required quantity based on the manufacturer's coverage and number of coats.
Should I use primer on a previously painted wall?
Not necessarily. If the existing paint is sound, clean and suitable for the new coating, you may be able to prepare the surface and repaint it directly. However, bare areas, repaired sections and certain difficult surfaces may require primer.
Why are there roller marks on my wall?
Roller marks can come from several things, including using too much pressure, applying too much or too little paint, using a poor-quality roller, or allowing one section to dry before blending it with the next.
Use the correct roller, keep a consistent technique and avoid repeatedly going back over paint that has already started drying.
Should I paint the ceiling before the walls?
In most room-painting projects, it is easier to paint the ceiling first and then work on the walls. This reduces the chance of fresh ceiling paint falling onto an already finished wall.
Can I paint during the rainy season in Nigeria?
Yes, but you need to pay attention to humidity, ventilation and drying conditions. Interior painting can still be done during the rainy season, provided the room and surfaces are suitable and the paint has enough time to dry properly.
For exterior work, rainfall becomes a much bigger consideration.
What should I do if my wall is damp?
Don't simply paint over it. Find and fix the source of the moisture first. Once the wall has dried properly, repair and prepare the surface before applying primer and paint.
Our team visits your site, measures your walls, and recommends the right finish with a formal quote — free of charge.